

Article: DIY: Tassel Takeover! 10 Easy Steps To Spice Up Your Favourite Sandals This Summer
DIY: Tassel Takeover! 10 Easy Steps To Spice Up Your Favourite Sandals This Summer
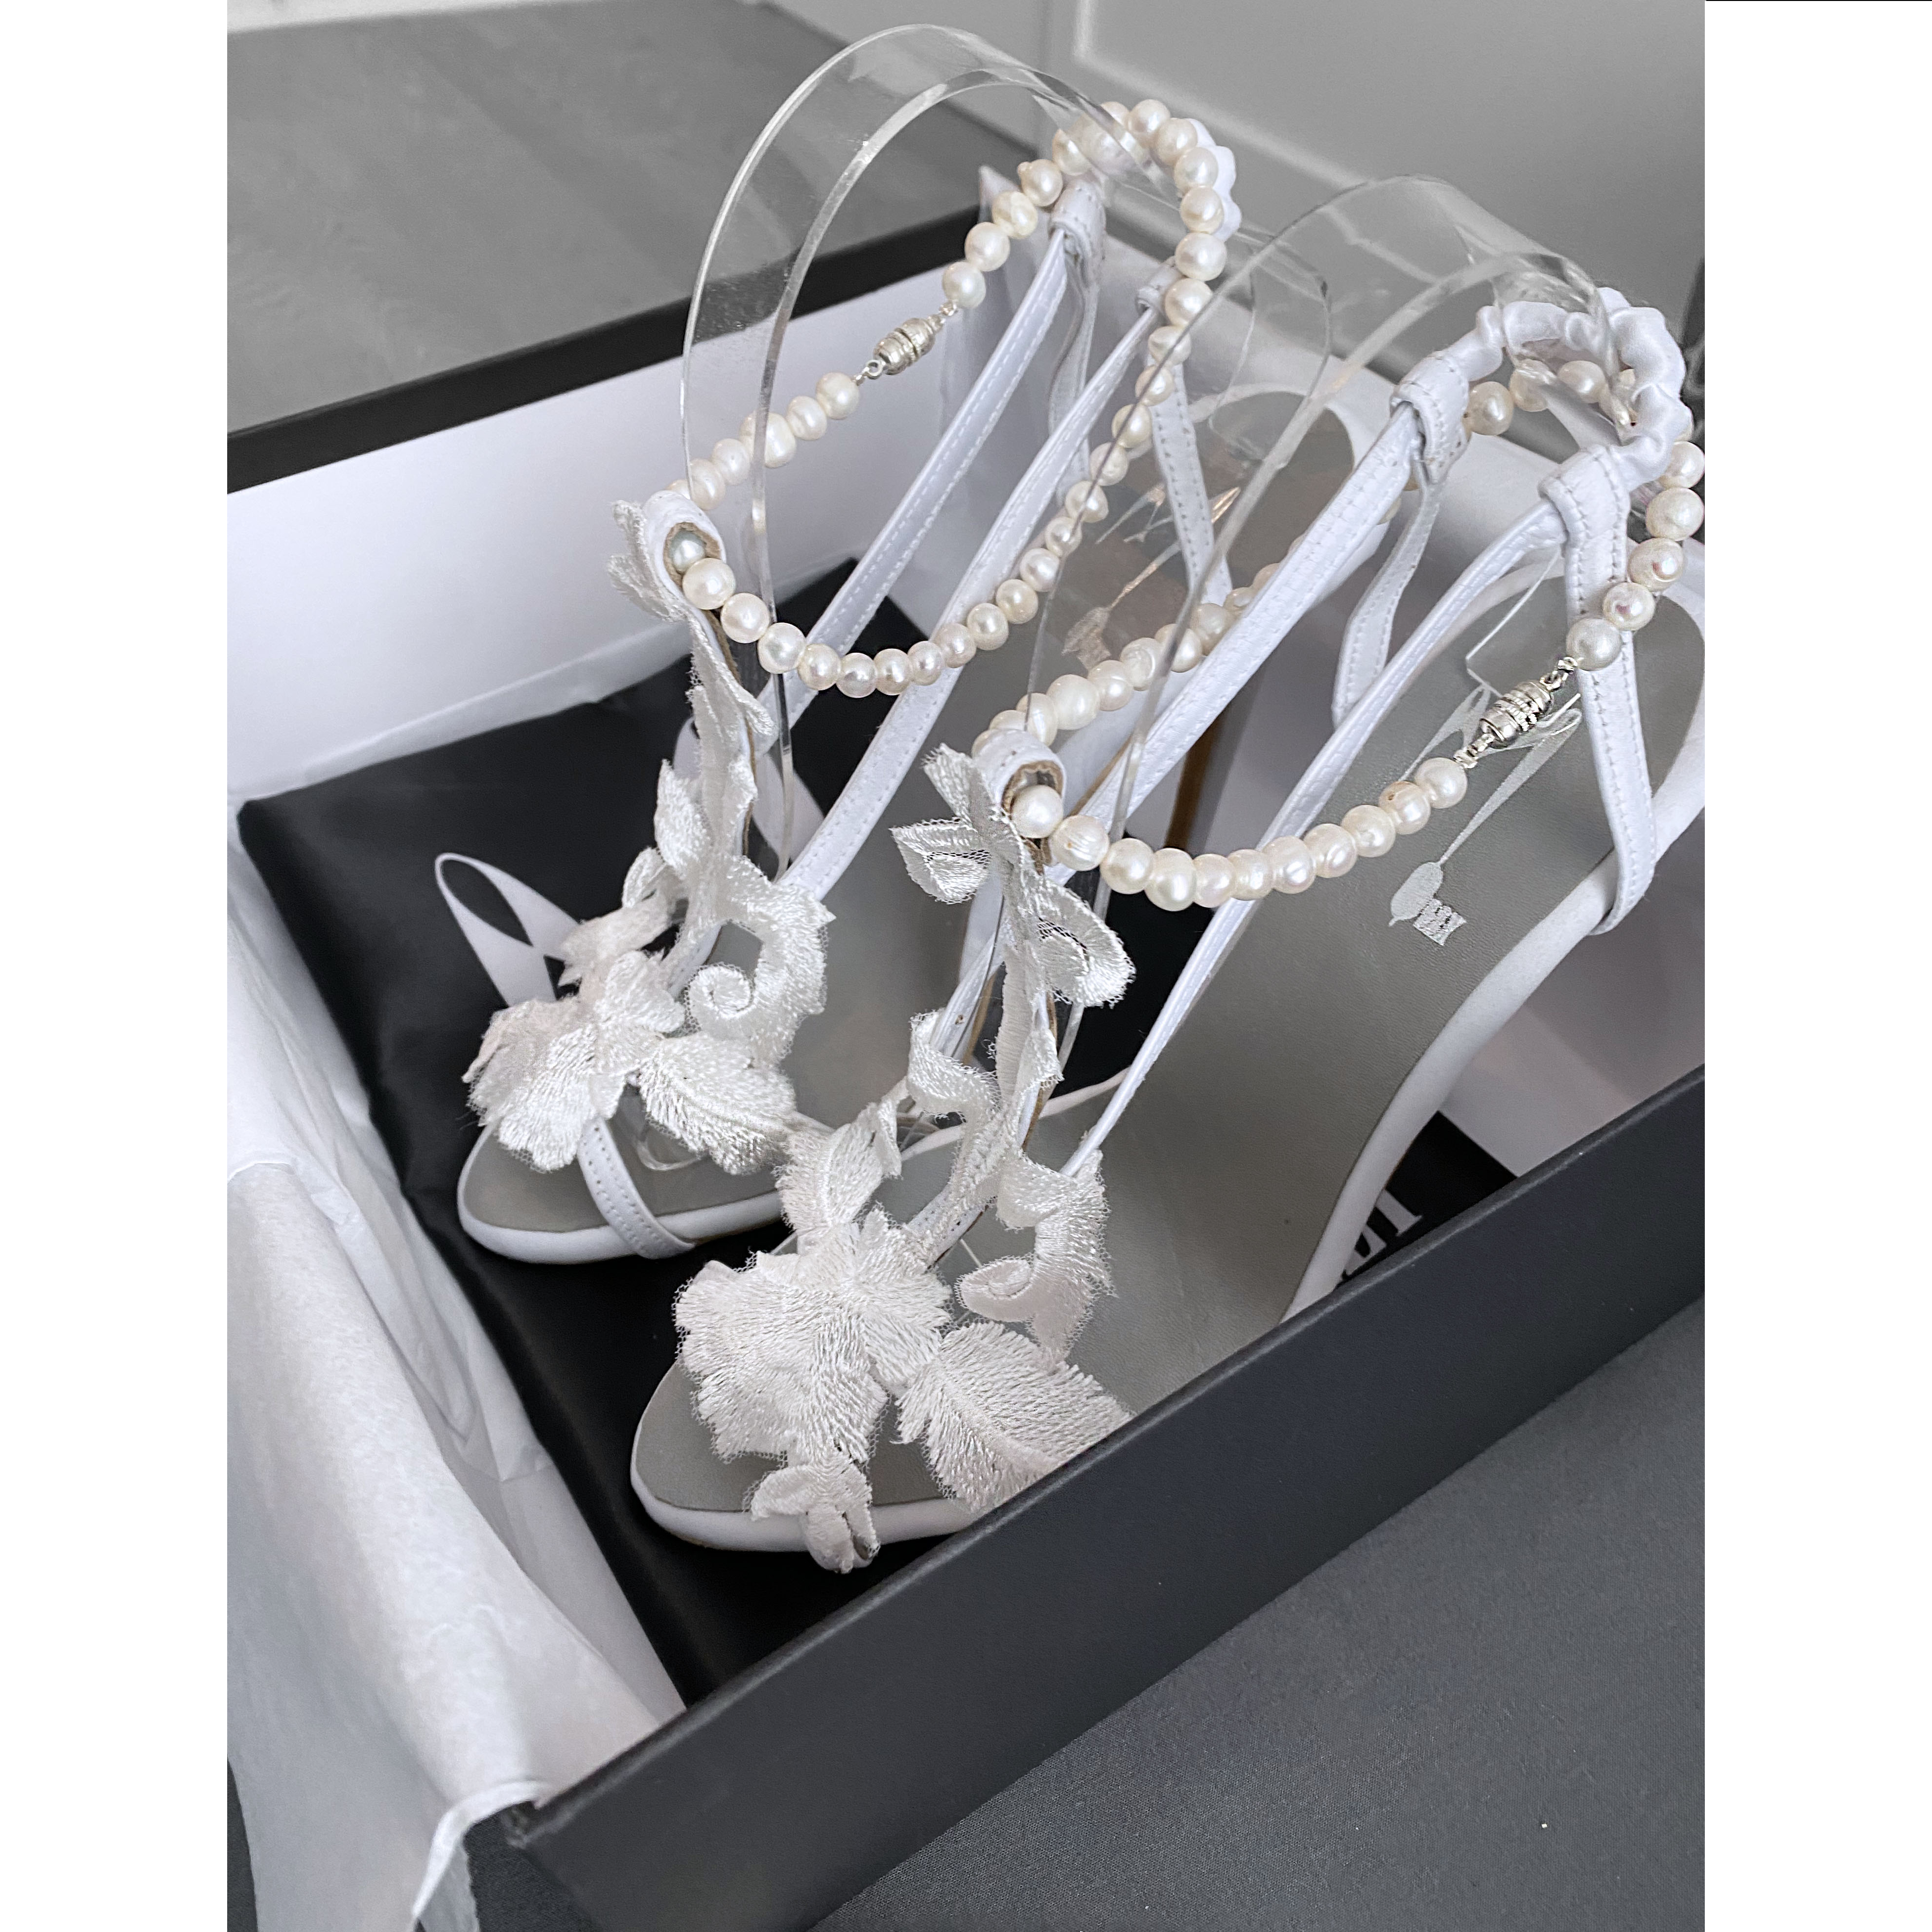
Summer’s finally here and we’ve all got a case of happy feet! With open-toe shoes popping up on every online store, pedicures are on the rise as this season’s beloved shoe styles are back on the shelves. Our desire to go along with what’s hot in fashion often leaves most Fashionistas looking somewhat like the next beauty beside them, so how do we spice things up and elevate our looks without breaking the bank?? Simple: Make Them Your Own!
One way to do this is with easy DIY crafts for Decorative Accents such as tassels. So put a cute spin on your hot summer buy with this fun & flirty trick! I've taken the liberty to find a helpful video and detail a step-by-step tutorial on how to combat the monotonous sandal trend.

- Leather or fabric
- Marker or pen
- Rotary cutter, utility knife or scissors
- Bonding glue or Contact cement
- Ruler
- Cutting Board
-
Metal compression sleeve (optional)

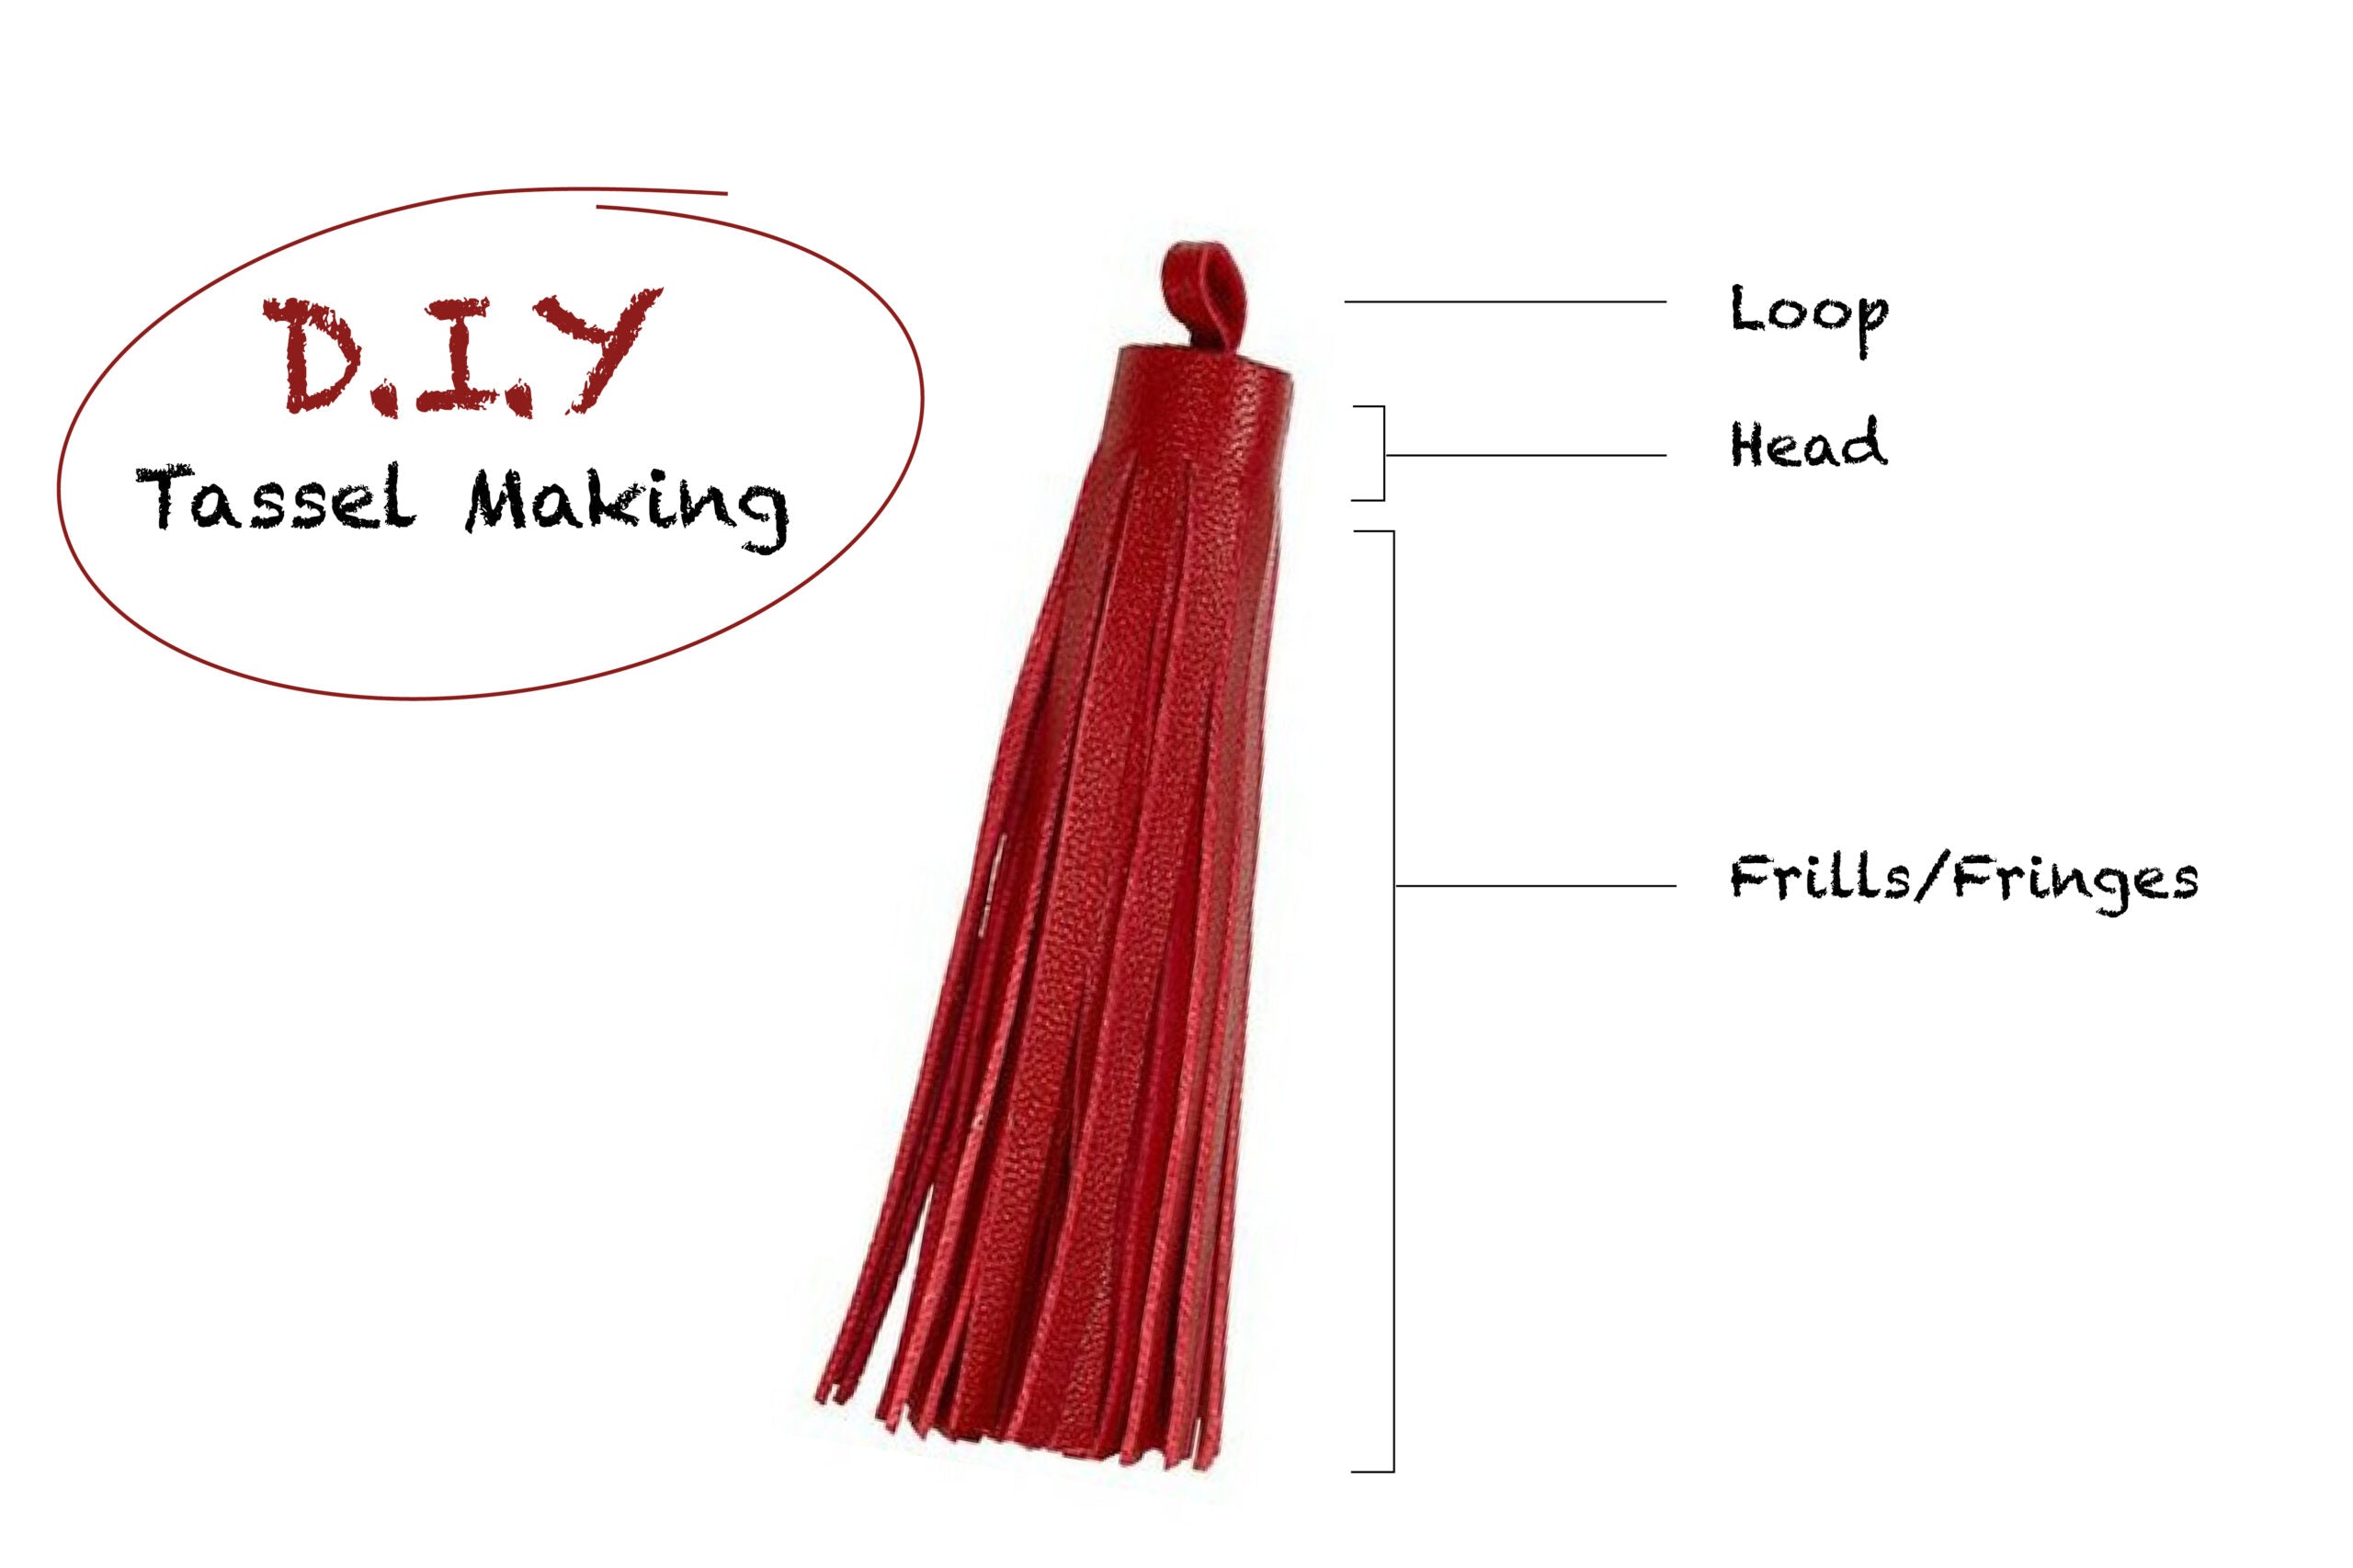
Here's a graphic breakdown on the tassel terms that I will be using throughout this post.


Select the hide or fabric of your choice- one that screams your name and, of course, complements the shoes you’re about to dazzle up (I'll be referring to leather throughout this tutorial as my choice of material). Since you’re making tassels, you won’t need much leather so find the smallest pieces available at your local leather supply store to save some money. Pay, and voila! You, my friend, are one step closer to those elegant frills.

Lay down the leather on a cutting board and measure a rectangle about 3-6 inches long and at least 1 inch wide with your ruler. You may adjust these measurements according to your desired tassel size. Then cut the measured piece and separate it from the rest of the hide.
Tip: To determine the length and width of your desired tassel before cutting, roll up the leather very tightly, and use your marker/pen to mark the end point where you are satisfied with the thickness.

Measure from the top of the longest side, down to your desired head length (refer to the diagram above). Then draw a line that meets both ends of the leather on the back-side (the side that will not be seen). This will be referred to as your "stop line".

Grab your rotary cutter, utility knife, or scissors, kick in an ounce of patience and get to cutting. Choose your desired fringe width and begin cutting even strips on your leather from the bottom, up until the stop line, in order to make your frills.
Tip: If you need some guidance, slide your ruler horizontally to create markings similar in width. Cut along these lines and repeat until you have a fully fringed leather piece.

With your ruler, measure another leather strip with dimensions that are at least 1/4 inch wide and 2.5x longer than the width of your shoe strap, then cut this piece out. This will serve as the loop of the tassel, which is the connecting piece to your shoes. Join both ends of this strip of leather using some glue.

Take your glue and attach the loop created in step 5 to either side of the top corners i.e. to the head of your fringed leather, making sure that the folded strip sits at least half an inch into the fringed leather piece. Once attached, ensure that the glue is completely dry before proceeding to the next step.

Once the loop in step 6 has been successfully attached, begin rolling the fringed leather piece from the corner with the attached loop, and add more glue as you go. We definitely don’t want all your hard work unraveling over time.

Leave your tassels out to dry, anywhere from 30 minutes to 2 hours in an airy space, to ensure that it is completely bonded.

Measure around the tassel you've created, then cut a piece of leather with its width equal to the length of the tassel head, and its length equal to the circumference of the completed tassel + 0.5 inches for overlay. Then glue this piece around the tassel head for a more refined look.

Slide the tassel right into your shoe strap and hit the town in your refined DIY sandals!
Important Note: For straps with no possible opening such as a buckle/snap, it is important to follow steps 5-7 on your desired straps i.e. create the loop and wrap the fringed leather ON the shoe strap.
I've attached a video detailing the steps above courtesy of Elke Bergeron on YouTube. Feel free to do your own research into creative processes for other decorative tasks.
Next time someone asks where you bought those fun and fabulous shoes, you’ll be able to steal some of the credit... After all, you DID “make them” ;)
Feel free to comment your experience below if you tried this fun DIY project and share this post with the rest of your stylish friends!
Until next time,
Molly